

Schedule Your Posts using Circleboom Publish
With the Smart Scheduler of Circleboom Publish, you can easily schedule your posts for Facebook, Instagram, Twitter, Linkedin and Google Business as simple as a button click.
Step 1: Log in to Circleboom Publish.
If you don’t have a Circleboom account yet, sign-up will take no more than a minute.
Step 2: Make sure that your social accounts that you want to schedule posts are connected to Circleboom. If you haven't connected them yet, you can follow our guideline on adding your accounts to Circleboom Publish.
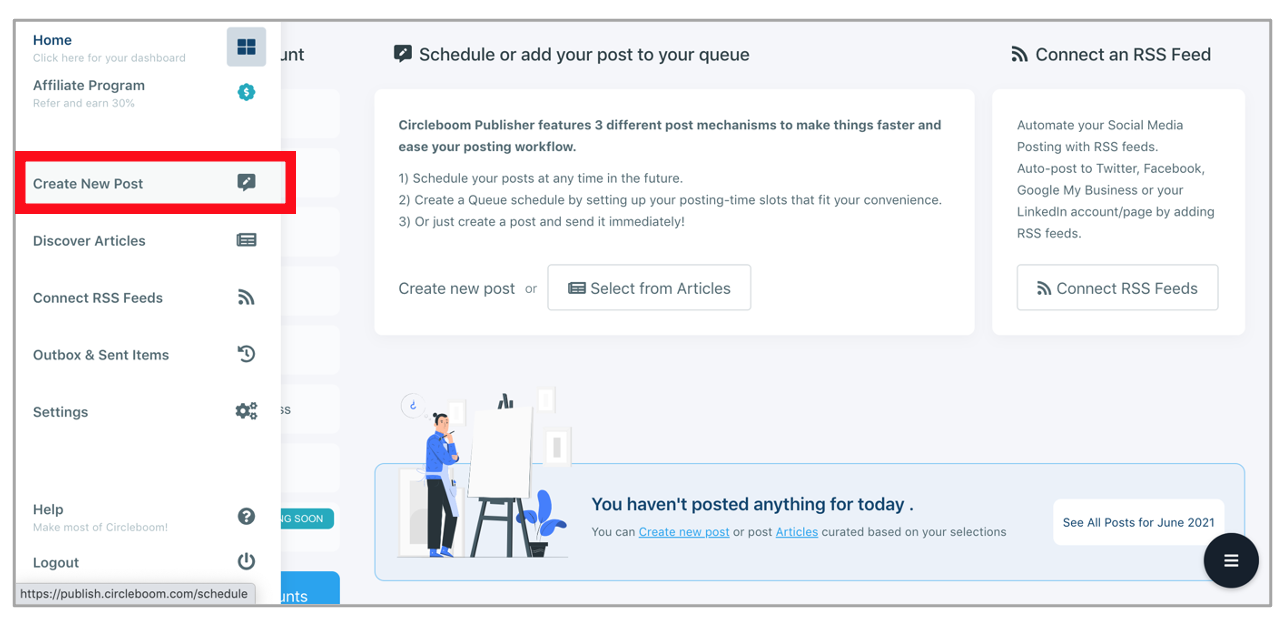
Step 3: Find “Create New post” on the left-hand menu and open the post scheduler.
On the Create New Post dashboard, you can schedule your posts for multiple social accounts from different platforms.
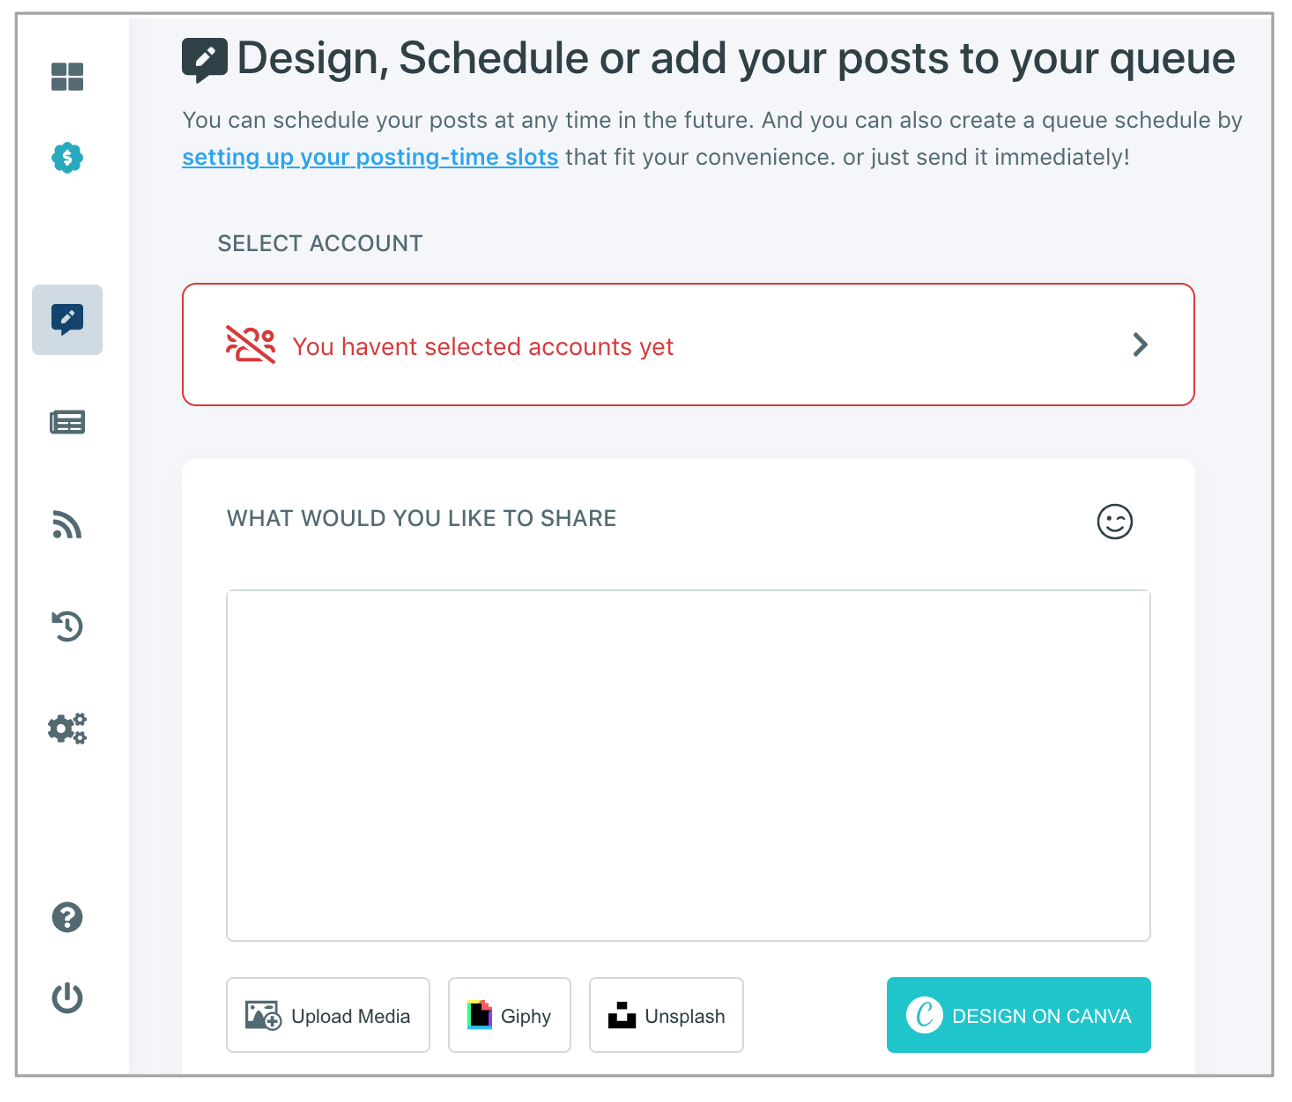
Step 4: On the Create New Post dashboard, select your social accounts that you want to post.
To make things easier for the next time, you can also create a sub-group with a selection of your social media accounts to manage them in one place.
Step 5: After you select the desired social media accounts, you can start creating your post.
As you are creating your post, you can check the preview on the right-hand.
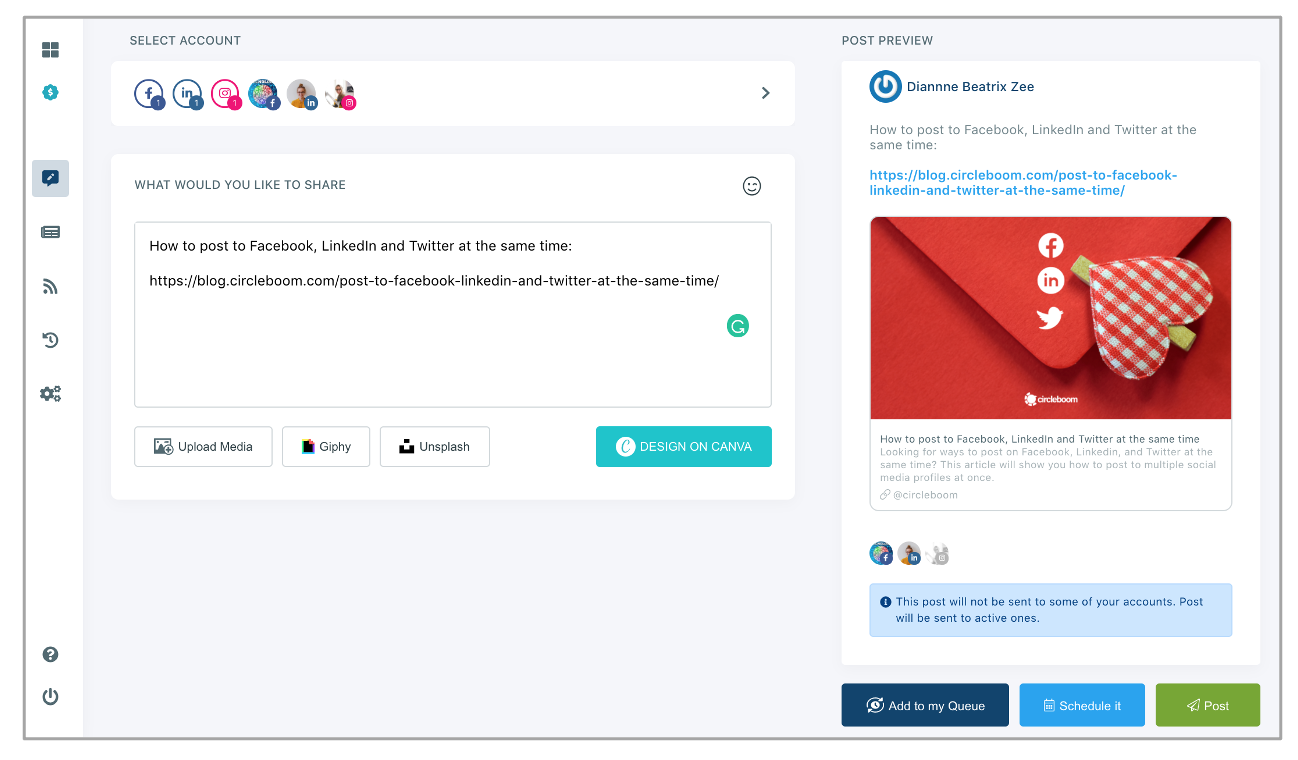
Step 6: Once your post is ready, you have three different options. You can instantly post your tweet, schedule it for a future date or add it to your posting queue for Twitter. If you want to post your tweet directly, click “Post” under the preview.
With the Schedule option, you can decide when the posts should be sent from your accounts. What you need to do is just to click on Schedule it and select the date and time you want. By clicking on Schedule it button below, you can finalize your post.
.png)
Last but not least, you can add your post to the queue by clicking on Add to my Queue option.
If you don’t set your post queue preferences yet, no worries. It only takes few clicks, as explained here.